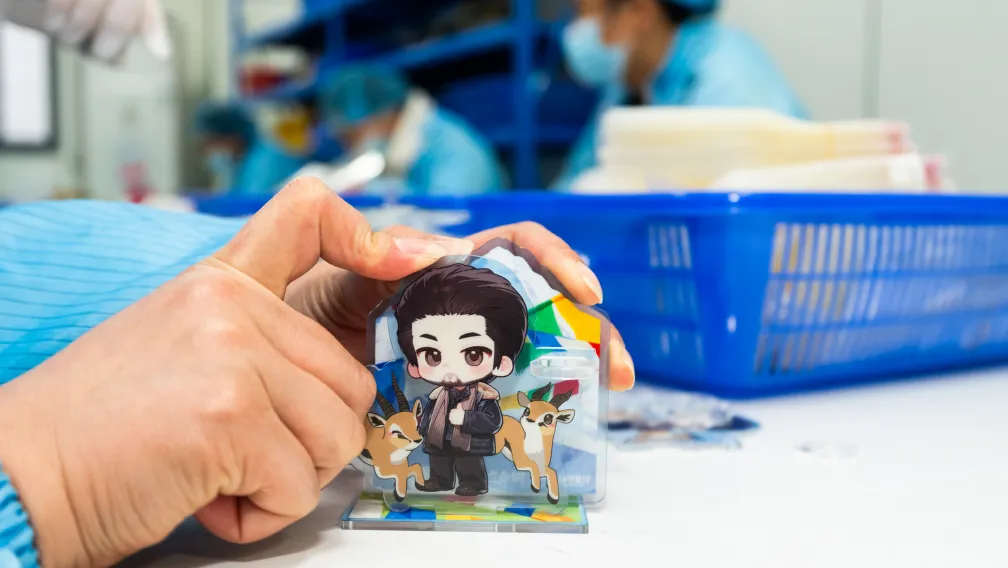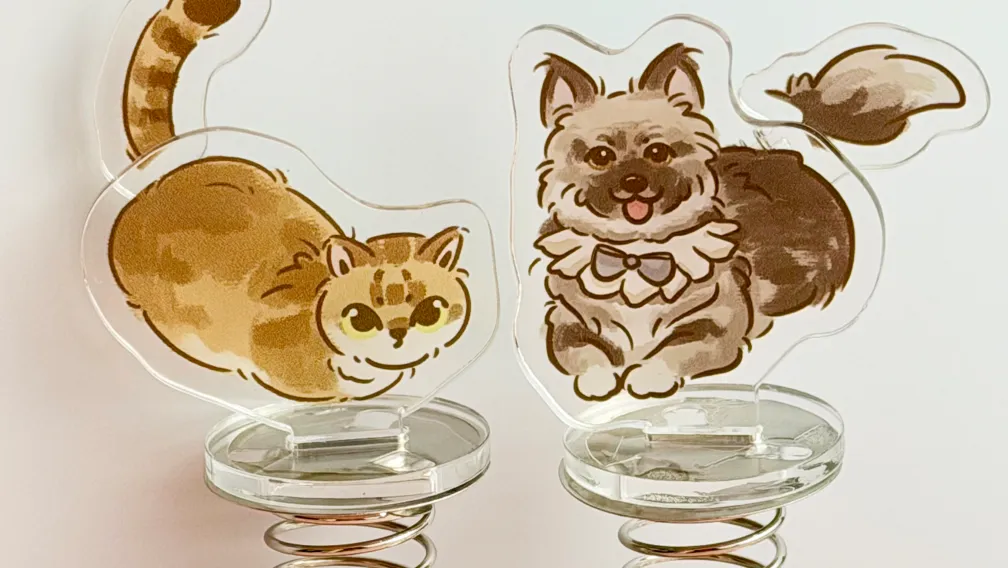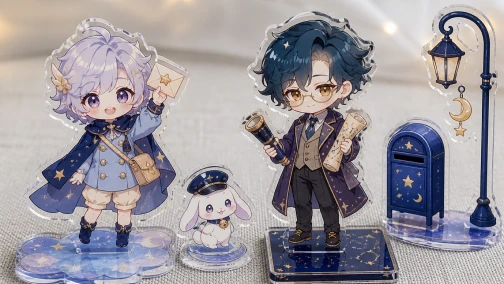
Interactive merchandise commands premium pricing. Among the most popular interactive products at anime conventions, artist alleys, and retail stores are custom shaker acrylic charms and standees. Unlike traditional flat custom acrylic keychains, a shaker product contains a hollow internal cavity holding small, loose, moving acrylic pieces (often called "shaker bits" or "mini charms").
Understanding how to design shaker charms is a technical challenge. It is not just about drawing good artwork; it is about engineering a functional miniature object. The design file must dictate the exact assembly of three separate acrylic layers, precisely align two different sets of cutlines, and account for the physical dynamics of the moving pieces inside. If the bleed boundaries, die lines, or white ink maps in your acrylic shaker standee template are inaccurate, the final product will fail on the production line.
This comprehensive guide walks you through the step-by-step process of preparing flawless shaker merchandise files for manufacturing, from layer organization to advanced cutline mechanics.
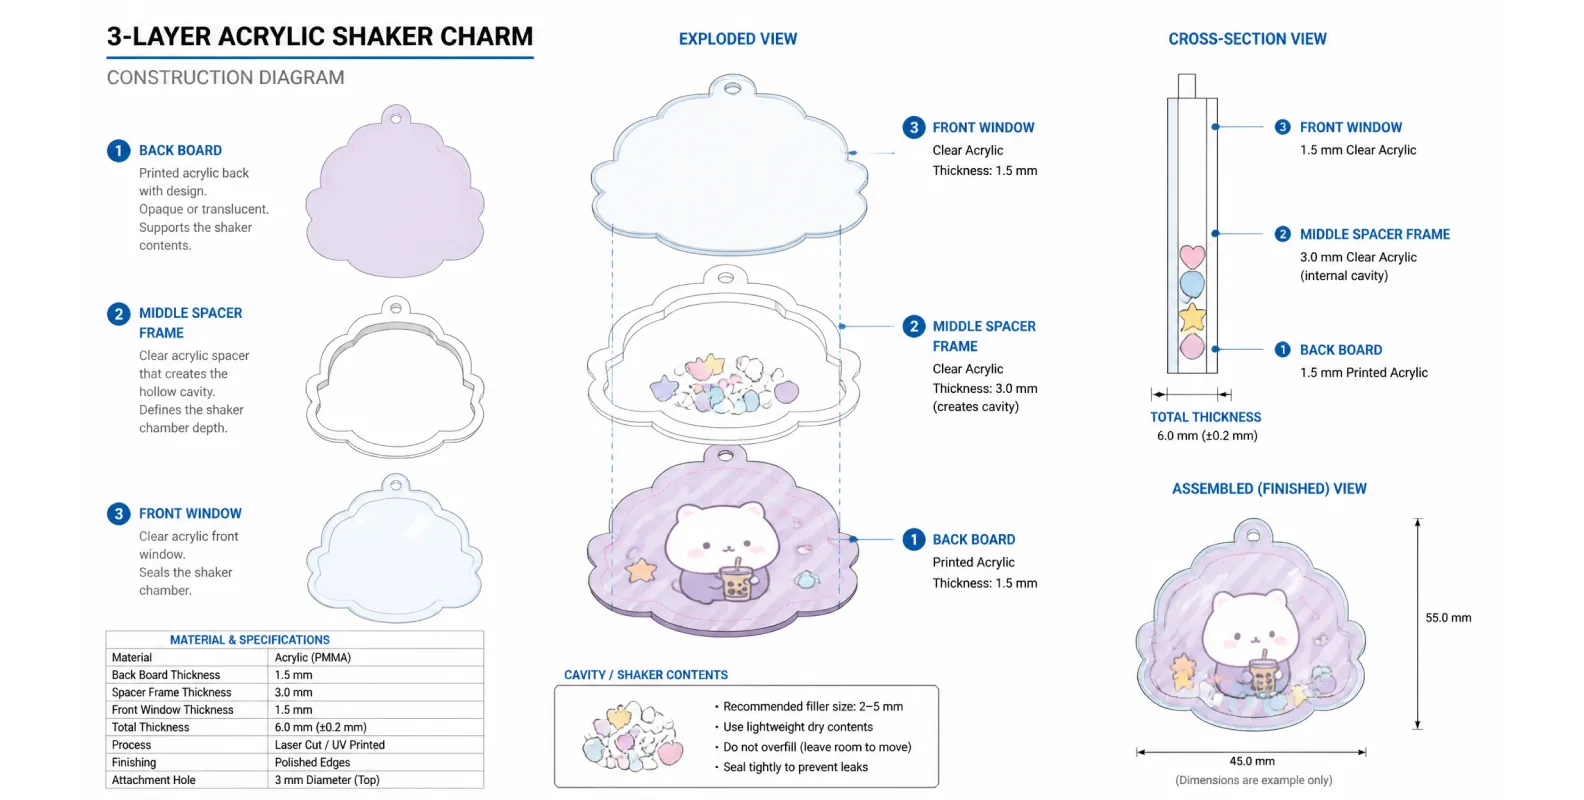
The 3-Layer Anatomy of Custom Shaker Acrylic
Before opening your digital design software, you must comprehend the physical construction of shaker merchandise. Standard flat acrylic keychains consist of a single sheet of acrylic. Shaker products require a three-layer "sandwich" structure. The total assembled thickness is typically between 6mm and 8mm.
- The Back Board (Base Layer): This is a solid piece of acrylic. It serves as the rear wall of the item and is printed with your background artwork.
- The Middle Spacer (The Cavity Frame): This is a thick acrylic piece where the center has been entirely cut out. This hollowed-out section creates the physical room—the "cavity"—where the mini charms will live. The thickness of this middle layer dictates how thick the shaker bits can be without getting stuck.
- The Front Board (Window Layer): This is a solid, clear piece of acrylic that seals the cavity from the front. It is usually printed with foreground artwork, creating a window frame effect.
The miniature shaker pieces sit freely inside the middle spacer. The factory precisely aligns these three sheets and bonds them seamlessly. Therefore, your design file must provide separate, exact visual instructions for each of these physical layers.
Step 1: Setting Up the Acrylic Shaker Standee Template
Proper file setup is the foundation of a successful production run. Manufacturers require specific file parameters to ensure printing accuracy. Always set your canvas to CMYK color mode rather than RGB. RGB colors look bright on screens but cannot be accurately reproduced by standard UV digital printers. Set your resolution to a minimum of 300 DPI (Dots Per Inch) at the actual physical size of the final product.
Instead of starting from a blank canvas, it is highly recommended to download an official acrylic shaker standee template. A professional template includes pre-calibrated guides and layer structures that match factory tooling standards. You can also explore our swatches and templates library to understand the physical materials and printing constraints before designing.
Your working file (saved as a PSD, AI, or editable PDF) requires strict layer organization. Never flatten your artwork. Create distinct, clearly named layer folders: "Foreground Art", "Background Art", "Shaker Pieces", "Outer Cutline", "Inner Cutline", and "White Ink". Organized layers prevent catastrophic factory misprints.
Step 2: Designing the Artwork Layers for Depth
Learning how to design shaker charms effectively means learning how to manage visual depth. You are essentially designing a miniature theatrical stage.
The Background (Back Layer)
This is the visual anchor sitting on the rear acrylic board. When creating the background art, keep the central area relatively clean and uncluttered. The moving shaker pieces need visual contrast to stand out. If the background contains too much heavy detail or dark colors, the internal loose pieces will become camouflaged and difficult to see.
The Foreground (Front Window)
The front layer acts as the physical window pane. The artwork here is printed on the topmost acrylic sheet. It typically features framing elements—such as a snow globe base, a gachapon machine exterior, a window frame, or overlying text. You must leave the center of this foreground layer completely transparent. Any ink placed in the center of the front layer will physically block the view into the cavity.
The Internal Shaker Pieces (Mini Charms)
These are the loose elements floating inside the cavity. Most custom shaker acrylic designs incorporate 3 to 6 miniature pieces, usually scaled between 15mm and 25mm each. Because they need to move freely, avoid designing pieces with long, sharp protrusions that could hook onto each other.
Symmetrical vs. Asymmetrical Shaker Pieces: The Flipping Problem
When designing the miniature moving charms, you must account for the physics of gravity and random movement. Once sealed inside the cavity, shaker pieces will tumble, spin, and flip completely over. You cannot control which side faces forward at any given moment.
Because factories utilize double-sided UV printing to ensure the charm looks finished from all angles, a flipped piece will display the reverse side of the artwork. If your design is highly asymmetrical—for example, a character wearing a distinctive eye patch on their right eye—the reverse print will default to a mirrored image, placing the eye patch incorrectly on the left eye.
To solve this, creators have two options. The first is to submit complex, uniquely drawn back-side artwork for every single miniature piece to ensure accurate anatomical alignment. The second, much more efficient method, is to design inherently symmetrical shaker fillers. Objects like stars, hearts, stylized currency, magical orbs, or simplified mascot faces look identical when flipped horizontally. Utilizing symmetrical designs for your internal elements drastically reduces file setup time and eliminates visual errors during assembly.
Step 3: Mastering Cutlines (Die Lines) and the Hollow Cavity
Cutlines (or die lines) are vector paths that instruct the factory’s CNC router or laser cutting machine exactly where to slice the acrylic sheets. Shaker products require extreme precision because you are dealing with two separate cut path systems.
Drawing the Outer Cutline
The outer cutline defines the overall exterior shape of the standee or charm. Industry standard requires a minimum 2mm to 2.5mm offset margin outside your artwork edge. Use a 1pt vector stroke in a high-contrast color (100% Magenta is standard) and place it in a dedicated "Outer Cutline" layer. Ensure the vector path is a single, closed, continuous shape. Avoid sharp, jagged inward angles; lasers struggle with extreme acute angles, which can cause the acrylic to crack during cooling. Keep outer shapes smooth and rounded. For a foundational understanding of standard vector paths, reviewing our acrylic keychain artwork setup guide is highly recommended before tackling a three-layer shaker file.
Defining the Inner Cavity Cutline
This is the most critical element of an acrylic shaker standee template. The inner cutline dictates the exact shape of the hollow middle layer.
You must leave an adequate "wall" of acrylic between the inner cavity cutline and the outer cutline. We recommend a solid acrylic border wall of at least 4mm to 5mm. If this wall is too thin, the shaker structure becomes fragile and may snap in transit.
Furthermore, the cavity must be engineered for movement. A common design failure involves creating a cavity with narrow bottlenecks or sharp corners where the loose shaker pieces become permanently wedged. Design the cavity as a spacious, smooth shape (like a circle, oval, or wide rectangle) to allow maximum kinetic movement.
Step 4: Base Tabs, Bleed Areas, and White Ink Maps
To successfully finish your custom shaker acrylic file, you must address structural fittings, color bleed, and the opacity of the printing ink.
Standee Base Tabs
Because you are designing a standee, the bottom of the outer cutline must incorporate an insertion tab that slots into the acrylic base piece. Tab dimensions are strictly standardized by the factory (e.g., 15mm width by 3mm height). Do not arbitrarily alter the tab size provided in the template, or your assembled custom acrylic standees will not fit into their bases. If you are configuring a shaker keychain instead, you will replace this bottom tab with a small circular cutline at the top for the keychain hardware hole.
The Bleed Area
A bleed area prevents unprinted, blank white edges if the laser cutter shifts by a fraction of a millimeter. Extend your background and foreground color artwork at least 2mm past the outer cutline. The inner cavity also requires bleed; extend the background color slightly inward into the space that will be cut out to ensure color reaches the exact edge of the inner cavity walls.
The White Ink Base Layer
UV digital ink is naturally translucent when printed on clear acrylic. If printed directly onto the plastic, light passes through the colors, making them appear pale. To create opaque, vibrant artwork, factories print a solid white ink layer directly underneath the CMYK color layer.
In your file, you must specify where this white ink goes. Duplicate your artwork silhouette, fill it entirely with solid black, and place it on a layer named "White Ink". The black areas instruct the printer to deposit white ink. If you want a specific part of the standee (like a stained glass window) to remain semi-transparent, leave that area blank on the white ink layer.
Common Manufacturing Errors to Avoid
When creators submit custom shaker acrylic files, they are most frequently rejected by pre-production quality control for the following reasons:
- Oversized Shaker Pieces: The internal pieces are mathematically too large for the cavity. If the cavity is 40mm wide and you include three 20mm pieces, they will overlap, jam, and fail to shake. Ensure the total area of the shaker pieces does not exceed 40% of the cavity area.
- Missing Hole Placement: Designers often forget to include the hardware hole cutline on keychains, or place the hole too close to the cavity wall, weakening the acrylic structural integrity.
- Incorrect Resolution: Submitting 72 DPI web-resolution files results in severely pixelated printing. Always work at 300 DPI from the start. Upscaling a low-resolution image later will not fix the pixelation.
Bring Your Custom Shaker Designs to Life
Correct file engineering accelerates the manufacturing timeline and eliminates costly prototyping failures. By organizing your layers logically, engineering smooth cavity cutlines, and mapping white ink correctly, you guarantee a high-quality finished product that functions perfectly.
When your artwork files are prepped and ready for commercial production, partner with an experienced manufacturer. Read more about Modoriworks and see how we utilize precision laser cutting, high-definition UV printing, and secure structural sealing. You can browse our past production cases to see our quality firsthand, and manufacture flawless custom acrylic shaker standees and charms with confidence. Upload your completed designs today and request a quote for your next major event inventory run.
-

Modori Works Team
Custom B2B Merchandise Manufacturer
Authored by the engineering and production specialists at Modori Works. We share deep manufacturing insights, material breakdowns, and workflow guides to help global brands, artists, and event organizers bring custom acrylics, keycaps, and collectibles to life with strict IP protection.